Services
Glass machining / lens modification
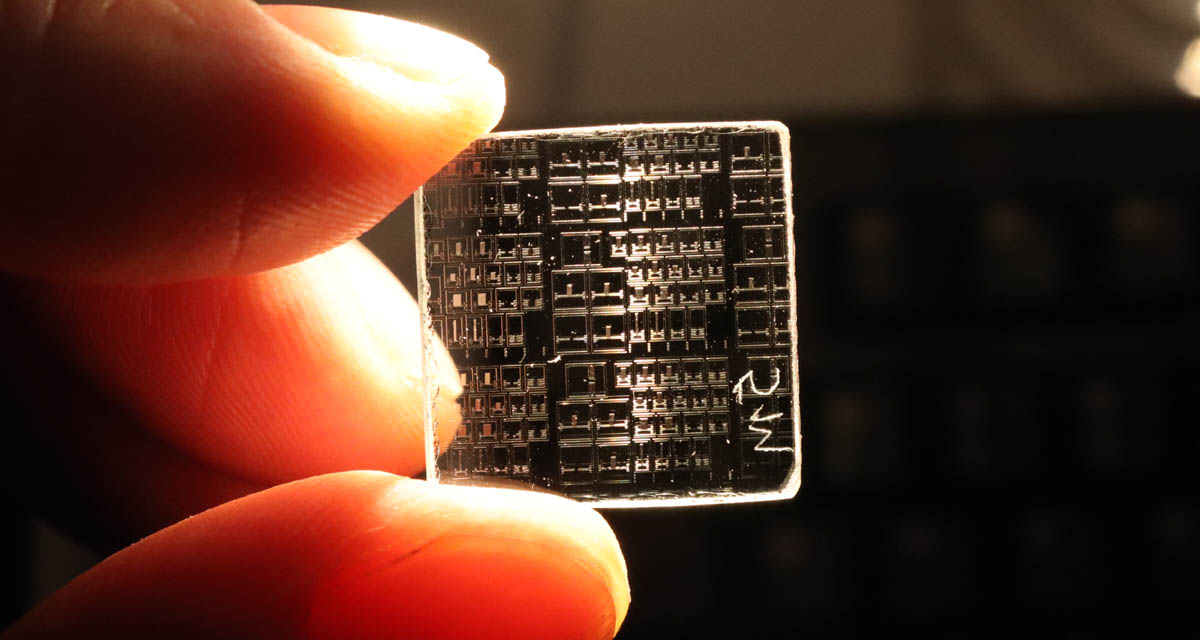
My workshop contains various diamond tools to make parts from glasses such as borosilicate-, crown- and flint glasses, Quartz, Zerodur, CLEARCERAM, NBK7, Silicon and Germanium. Excluded are Sapphire, SiC, SiN and diamond, which cannot be processed due to their extreme hardness.
Machines are available for drilling, sawing, milling, radius milling, rough/fine grinding, optical polishing and lens centering. The maximum object size for these operations is ~ 350mm. The standard dimensional accuracy for glass processing is 0.2mm. If required, tolerances can be improved to 0.05mm.
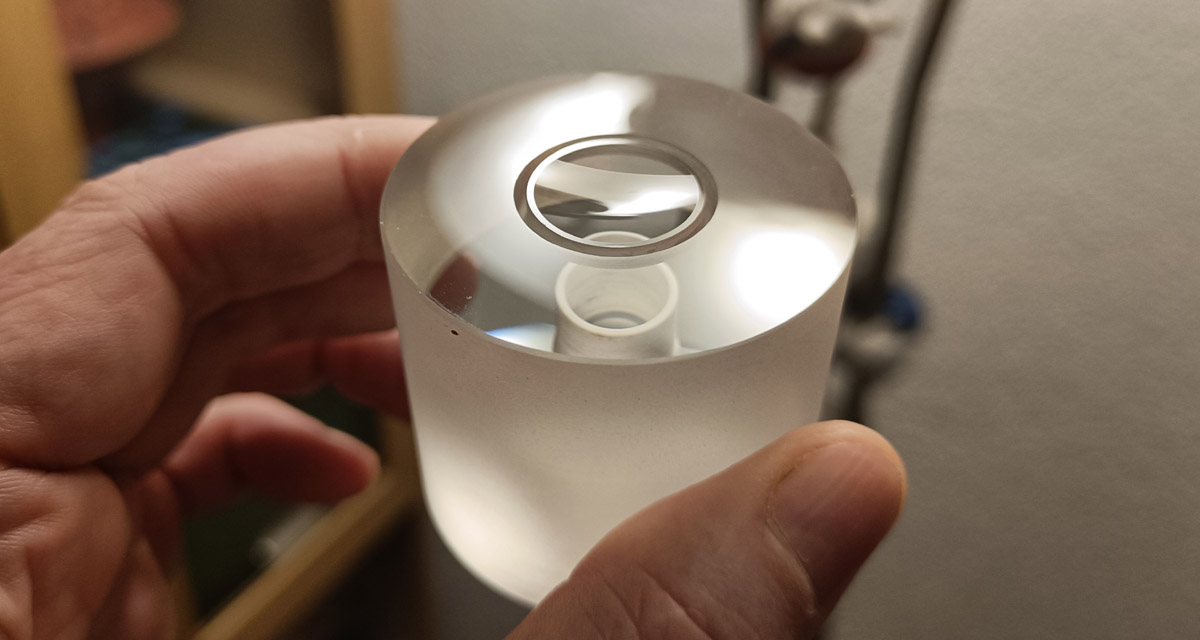
Full Schmidt-Cassegrain telescope made from a single piece of glass (uncoated)
Existing parts such as optical filters, lenses and mirrors can be cut to new custom dimensions and optically re-centered.
Parts used in mechanical applications such as for example spacers can be modified in flatness or parallelism.
I have a small stock of different flint glass types available in my workshop.
You can download a PDF with the full list of currently available materials and dimensions.
Download

Optical Testing
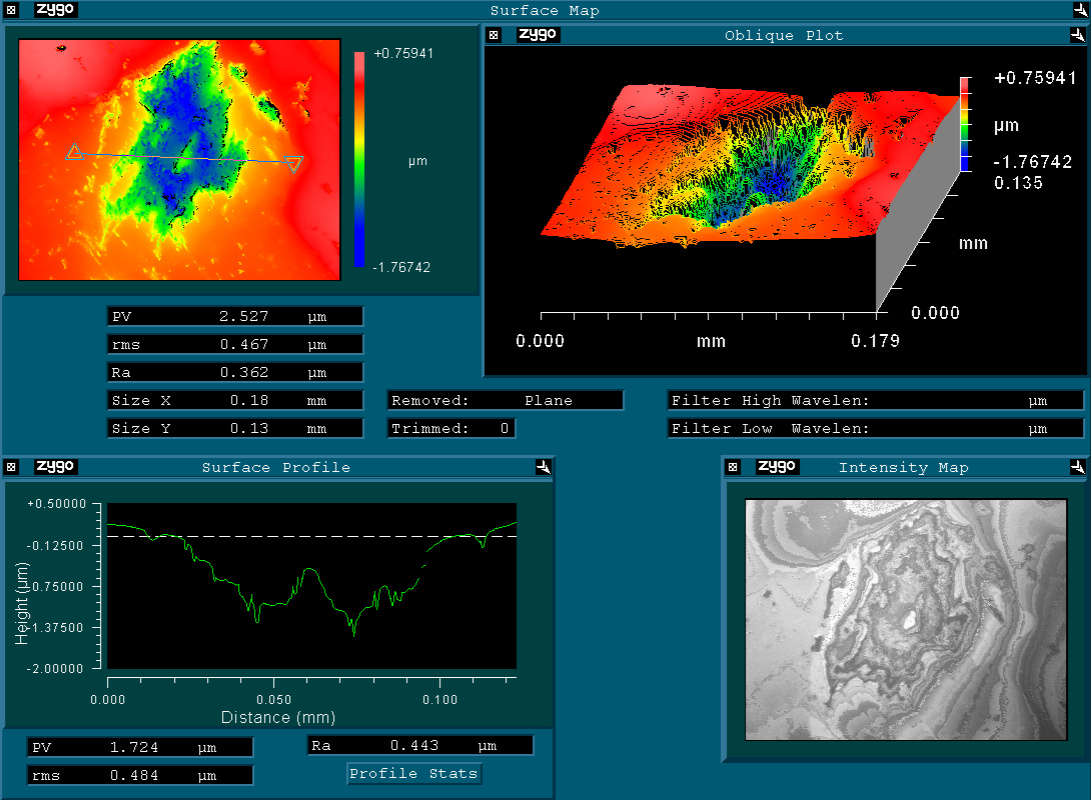
Optical properties of mirrors and lenses can be measured using interferometric testing. The following instruments are available for this: • Optical flats 240mm diam; 1/10 λ. • ZYGO GPI Michelson Interferometer. • Transmission sphere F/0.75, 4% • Transm. flat 100mm diam., 4% refl. • Transm. flat 100mm diam., high refl. • ZYGO NewView CSI / WLI , 2.5x-40x
Complete optical systems can be measured in auto-collimation (up to ~ 230mm diameter). A detailed report is supplied with each analysis. For more information about the measurement methods you can watch (technical) videos I made for YouTube about the ZYGO GPI Interferometer and about Coherent Scanning Interferometry. You can of course also contact me directly with your question.
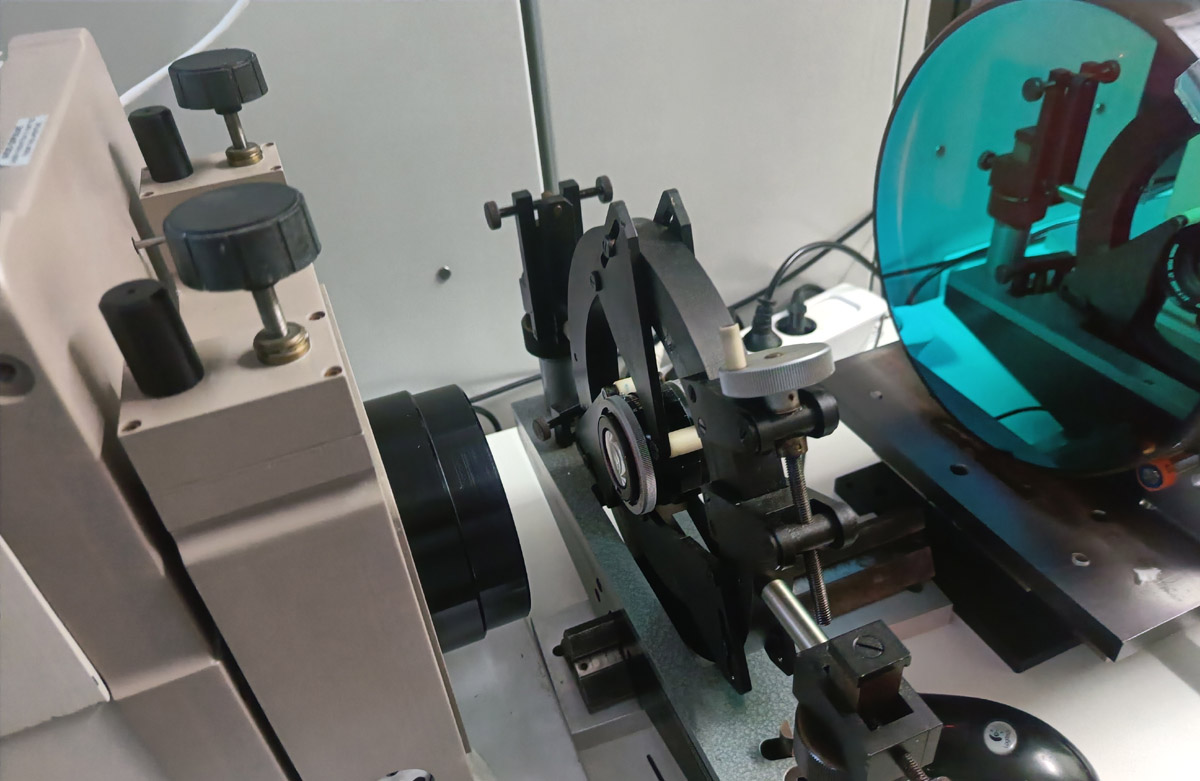
Testing a lens in auto-collimation
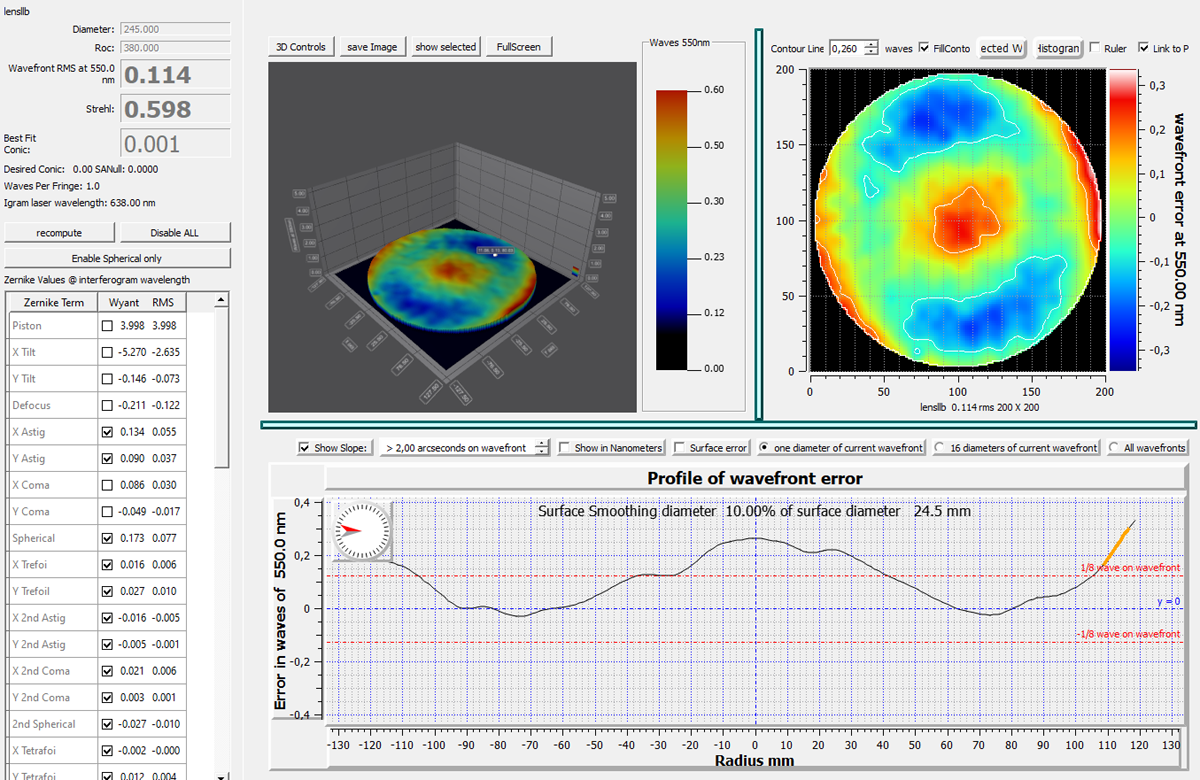
Example of an interferometric test
Surface Inspection
Huygens Optics has several instruments available for surface defect inspection: • Mitutoyo measuring microscope. • Leica optical microscope (2.5-100x). • ZYGO NewView100 WLI/CSI (2.5x-40x). • Trioptics Ultra Spherometer.
The above instruments allow for accurate characterization of surface defects, both for determining lateral dimensions as well as for example for the depth of surface defects, pits, and scratches. For more information about this service please contact me.
